Tuesday, July 31, 2012

A broochy picture.

A broochy picture.

Today I decided I needed to do something about my collection of brooches. I have quite alot! I love them all, and was not planning to throw any out, just make a way to see them in their prettyness and use them more than I do. I also, have ALOT of pretty fabric and wanted to put the two together. This is a really easy project that you can try as well.


To make this pretty picture slash brooch storing device you will need a pretty frame of your choice,


Strong, thick fabric of your choice. I went for a pale colour so the brooches would stand out but you can choose anything.


Then you will need a hammer and small nails. Oh and your collection of lovely brooches of course! Nail one corner of fabric to the corner of the frame, on the back, then make your way around the frame, pulling the fabric tightly.


Once the fabric is attatched to the frame, tightly, trim any edges that are showing on the front side and start attatching your brooches. You could even hang earrings off it as well!

Hang this new pretty art piece somewhere easy to reach and get excited about what brooch your going to wear next!


Hope you enjoyed this little DIY project!

Taz


Tuesday, July 24, 2012

Homemade Vanilla and Passionfruit Ice Cream

Homemade Vanilla and Passionfruit Ice Cream

OH.MY.GOODNESS! I'm not one to blow my own trumpet, but today I will! I have been in the mood for ice cream ALOT lately but didnt want to just buy a tub of shop ice cream, knowing the amount of sugar, colours, flavours, cheap milk and who knows what else is inside! I also was given an ice cream maker by my lovely friends as a wedding present a couple of years ago, so it made sense to me to try make the ice cream. I have done this in the past, but havent bothered with a proper recipe, basically made a smoothie and froze it in the machine, but was never that satisfied. Well, all of that can go out the window as I can now master homemade ice cream and it is the BEST!


What I love about this ice cream is how nourashing (and delicious) it actually is! I don't for a second feel guilty about eating this! Its made with good quality organic eggs, honey, milk still with the cream ontop and fresh, unprocessed cream! No diet or low fat stuff here, this is real food!


So, I should probabaly give you the recipe and show you how to make some yourself! The original recipe comes this fabulous book!


From this book I got a basic vanilla ice cream recipe, which I use as my base, then flavour with fruits or what ever really! Last week I made a banana ice cream which was delicious!
The other changes I made were, i used honey and coconut sugar rather than cane sugar, but you wouldn't know!


For the best vanilla and passionfruit ice cream, you will need:
300ml full cream milk
25 gm honey
25gm coconut sugar or you can use 50gm cane sugar instead!
1 egg, well beaten
225 ml full fat cream (don't really know how fat free cream can exist, seeing cream is the fat!!)
1/4 tsp vanilla paste
2 fresh passionsfruit

Firstly, combine the milk, honey, coconut sugar, vanilla and egg into a saucepan and allow to thicken on a low to medium heat! Watch it carefully and stir often so you dont scramble the eggs.

Once it is at the stage of coating the back of your spoon, allow to cool. Once cold, stir in your cream and passionfruit pulp and mix well (this is the stage where you would add other flavours if your not doing passionfruit, or leaving it plan as a vanilla ice cream).


Pour into an ice cream maker and churn for 30 minutes, or pour into a container and freeze, giving it a good stir every hour to break up the ice crystals.


Once 30 minutes of churning in an ice cream maker is done, scoop the ice cream into a container and freeze for an hour to get a bit firmer before eating, or freeze till you want to eat it, which may be the next day!


And there we have homemade ice cream! We have eaten ours on french toast and maple syrup, with fruit salad...


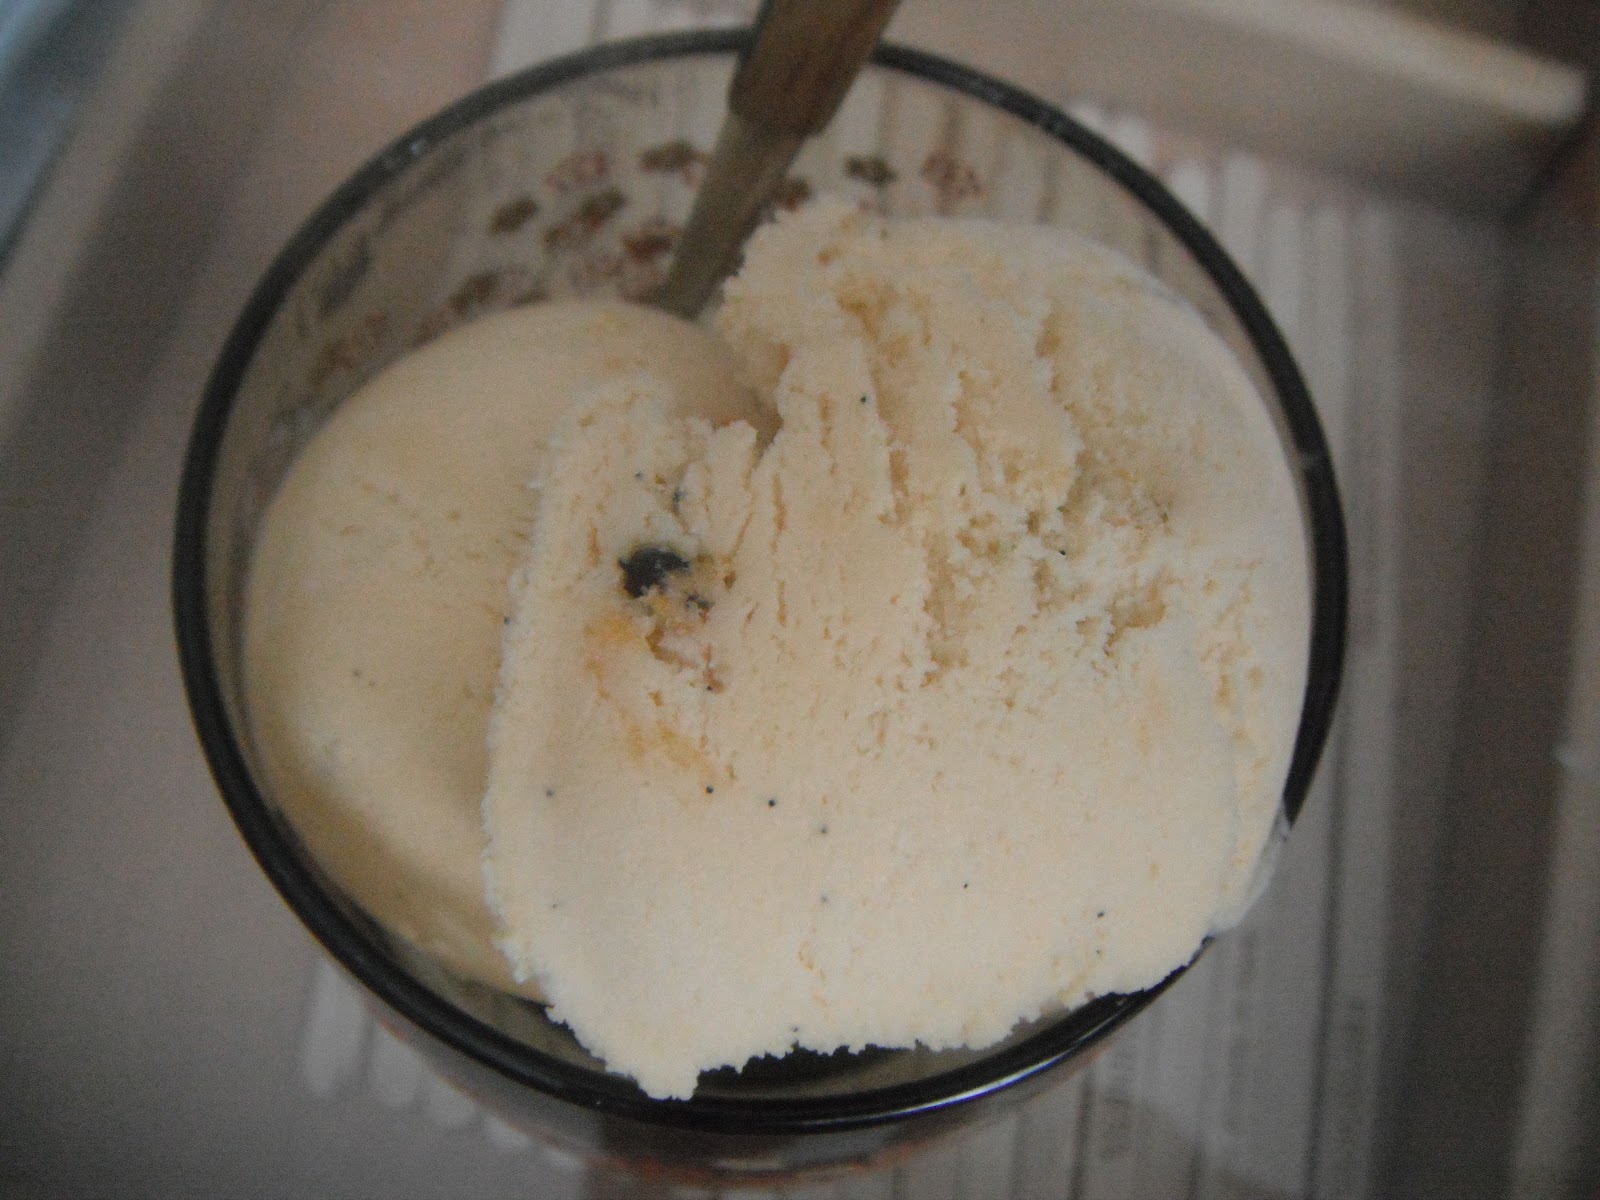
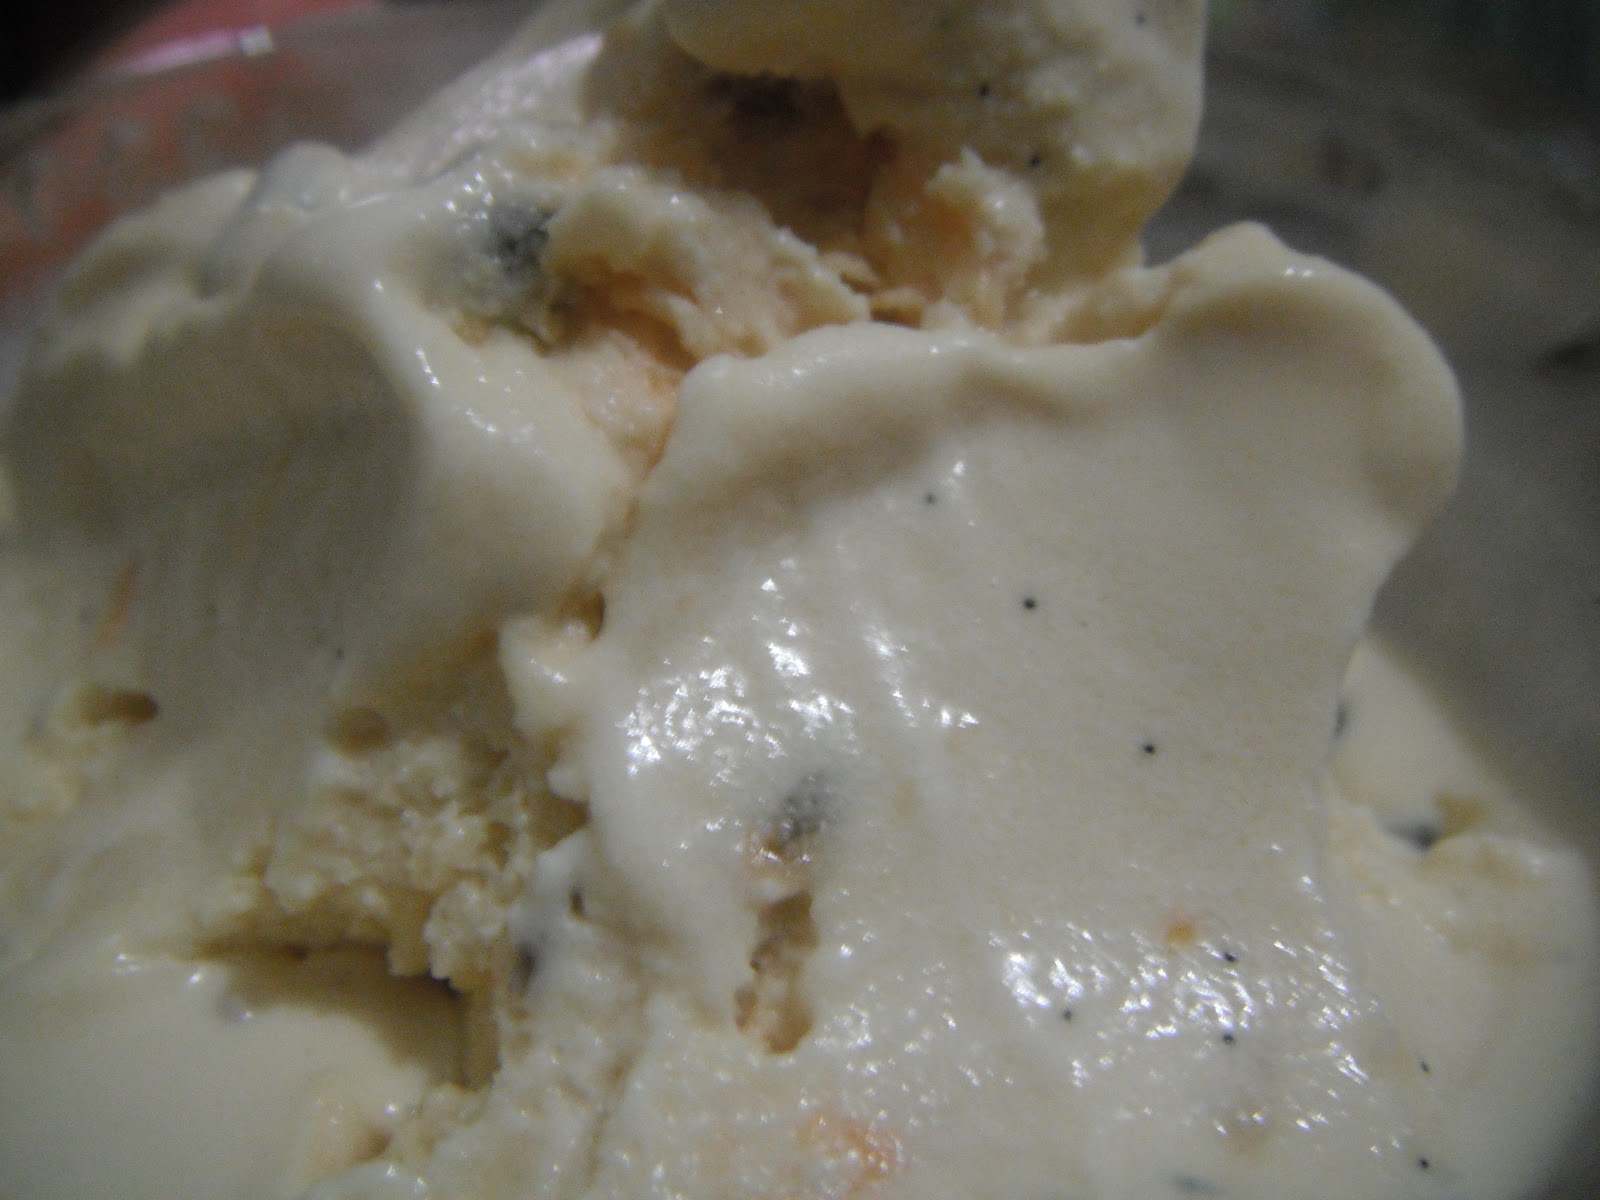
I love how you can see the vanilla and passionfruit through the ice cream!


Serve in your favourite bowl and quietly enjoy, as you can see mine is melting as I type away! I better end this, and eat it up!


Let me know if you make this and how it worked for you! What other flavours do you think I should try?

Enjoy,

Taz


Friday, July 20, 2012

Beautiful!

Beautiful!

It's saturday afternoon, and I have just got back from a favourite place of mine..the St Andrews Market. And today has just been the most beautiful day! Thats why I have titled this post beautiful! I know I have shared a post about the St Andrews market before, which you can read here, but I wanted to share another with you because like I said, the day has been beautiful, and I want to share that with you!

Firstly, the drive to and from the market today was even more spectacular than usual, as the sun was shining and the rolling hills were so wonderfully green. Here are some photos of the drive. I dont know about you, but when I can have the bluest skies and the greenest grass in the same picture, I feel very peaceful and content. A drive in the countryside is honestly one of my favourite ways to spend time.


So if your not already inlove with the views you will see on your drive to the market, let me show you what we bought today! Again the word beautiful is really the best way to describe everything we bought! From the most delicious curry for lunch to these...


A handmade brooch $1.00


Cute vintage earrings $3.00


Beautiful music on record $4.00


Handmade dress $5.00

Love the fabric and buttons!


 A cute 50's yellow sun dress $5.00


Love the detail on the neckline.


The pretty back of the sun dress.


A preloved dvd, not beautiful I
guess but price was, $4.00!


On our way out of the market, went to our favourite cafe across the road, and bought some delicious cake to have with tea at home!


A hummingbird cake with vanilla cream
cheese icing! $5.50


A lemon and poppyseed cake with
lovely lemon icing! $5.50


So as you can see, we have had a really lovely day and everything has just been beautiful! Feel free to go for a visit sometime soon yourself, you will feel as happy as me inside!


Hope you have enjoyed this read,

Taz!


Monday, July 9, 2012

Bacon and Cheese Muffins

Bacon and Cheese Muffins

I thought I would share with you this recipe I have been loving baking recently as it is so quick and easy to make, and the recipe goes a long way so you can enjoy your baked treats for longer!

The recipe is for Bacon and Cheese Muffins.


These are really good. Im not usually a savoury muffin person, I tend to agree with Miranda in her tv show where she says that there are enough disappointments in life, referring to a savoury muffin, but these hit the spot as we had them with soup and I through in ALOT of cheese, which I think is a must! Simply serve them warmed with butter and you'll be happy!

The original recipe comes from a cookbook I own called Cooking Naturally by Gwenyth Bowditch. I changed it slightly by adding leek, using spelt flour and adding extra cheese and this is my recipe for these muffins.

2 cups spelt flour
4 tsp baking powder, sifted into the flour
60 gm butter
4-6 tbsp chopped crisp fried bacon..mmm
1/2 leek, thinly sliced
1/4-1/2 cup chopped cheese chunks
3/4 cup milk
1 egg, beaten
pinch salt
pinch cayenne pepper
Extra grated cheese for topping


First,preheat oven to 210C, line a muffin tin with muffin cases or reusable silicone cases.


Fry your bacon and leek together.


Cream the butter until soft. Add half the flour, salt and cayenne pepper. Mix until crumbled then add the rest of the flour. Add the bacon and leek mixture, milk, egg and cheese chunks and mix to a soft dough.


Spoon into your muffin tin and add grated cheese on top. As much as you want really!


Bake for 15-20 minutes or until a skewer comes out clean. Eat straight away with butter and a hot mug of soup, or of course, cool on a wire rack for another time! These freeze really well. Just zap in microwave or reheat in oven when you want to eat them!


Enjoy!

Taz